User Tools
Site Tools
LCD module data
Numeric
Character
Mixed
- ≡ Uniden FP203 ✘
- ≡ Uniden FP204 ✘
- ≡ VIP89Z G-Code ✘
Graphic
key: ≡ parallel, ↔ serial, ~ LVDS, _ unknown, ✘ discarded as not useful
| LCD Description | |
|---|---|
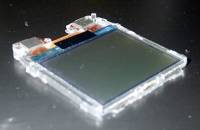
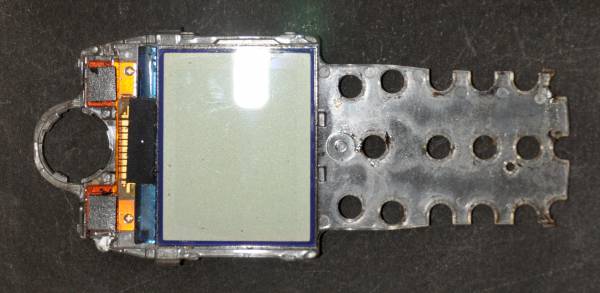
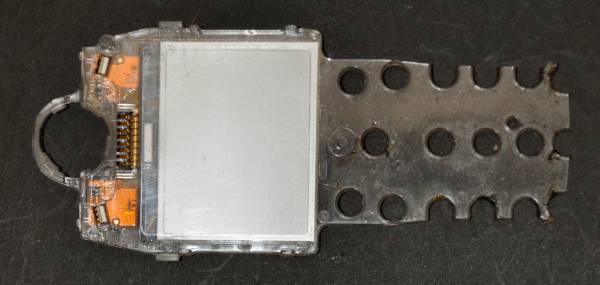
| Model | Nokia 1100 |
| Manufacturer | Nokia |
| Recovered from | Nokia 1100 cellphone |
| Board IDs | H300, DMS03214 |
| LCD type | positive |
| Polarizer type | transflective |
| Columns | 96 |
| Rows | 65 |
| Char matrix | - |
| Driver IC | Philips PCF8814 |
| Backlight | green LED 1) |
| Arduino driver | PCF8814.h |
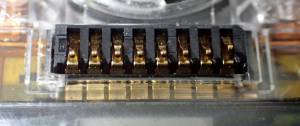
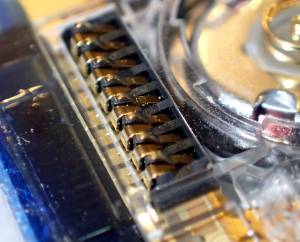
| Connector | pins |
| Num Pins | 8 |
| Pin spacing | 0.044” |
| Module size | mm |
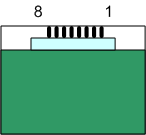
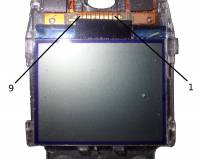
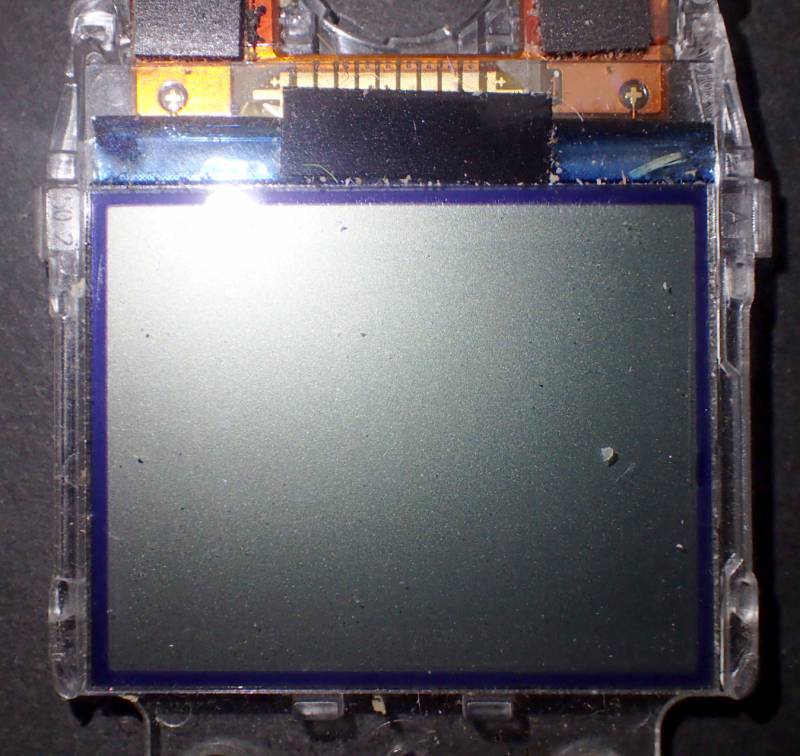
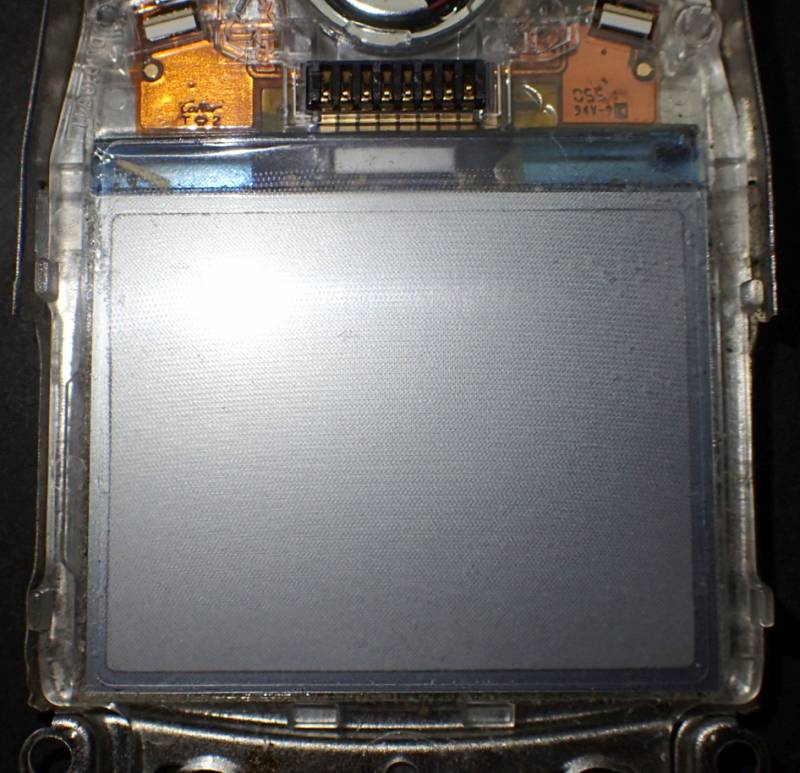
Connector layout, LCD front view
| LCD pinout | ||
|---|---|---|
| Pin | Label | Description |
| 1 | XRES | Reset |
| 2 | XCS | Chip select |
| 3 | Vss | Ground |
| 4 | SDA | Data in |
| 5 | SCLK | Clock |
| 6 | VddI | 1.8V (VIO) |
| 7 | Vdd | 2.8V |
| 8 | LED+ | Backlight (100mA ?) |
| 9 | - | - |
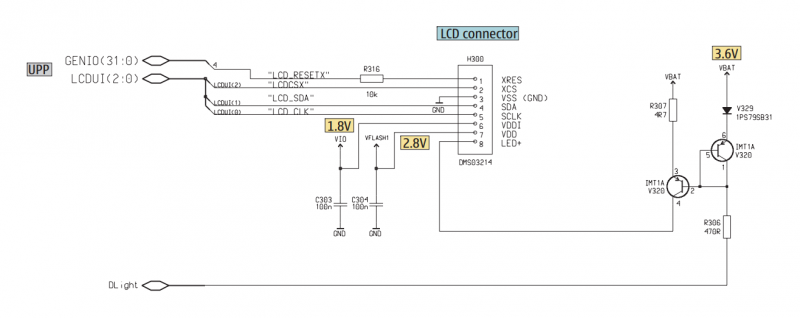
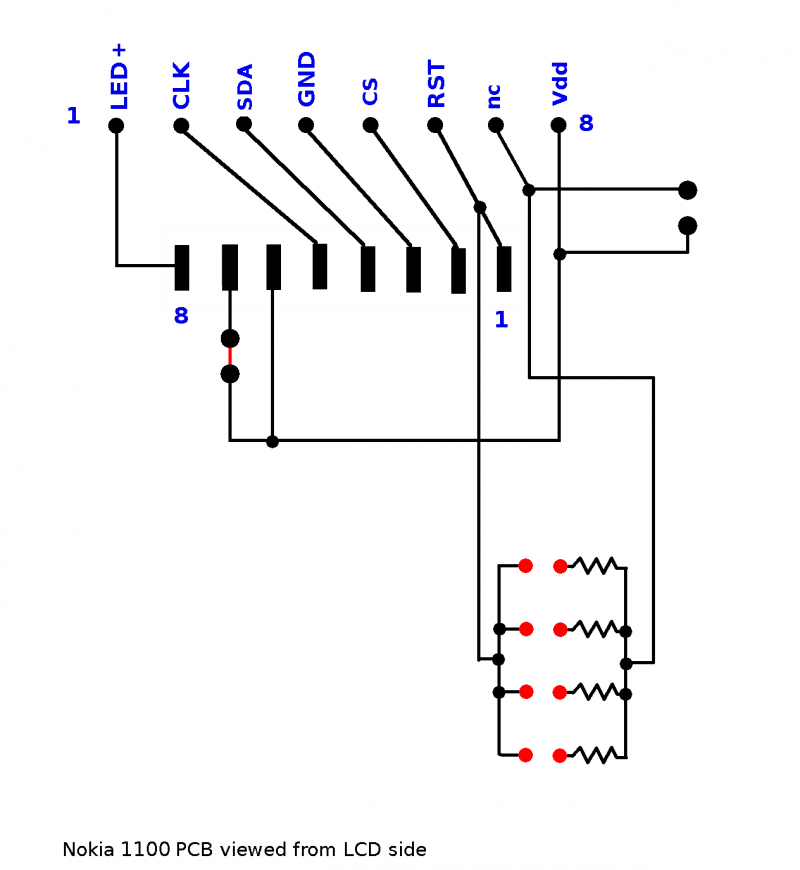
- Nokia 1100 LCD schematic:
- From this circuit it appears that the phone drives the backlight LEDs with a constant current of about 50mA for each.
Additional info
- Nokia 1100 LCD Pic interface (with link to code).
- Connecting the display from Nokia 1100 (Russian).
* Libraries
Examples
Mounting on PCB
To reuse these in Arduino projects it is useful to have them mounted on a PCB.
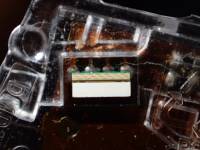
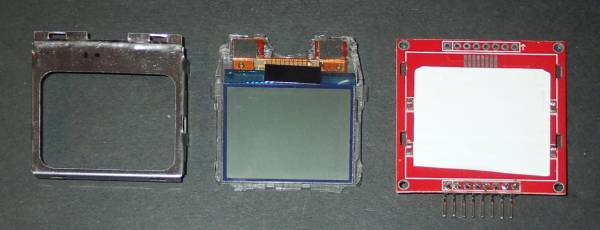
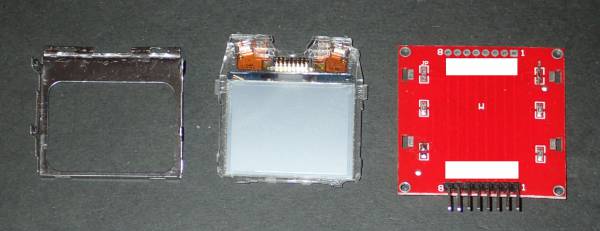
After disassembly the LCD's transparent light guide can be trimmed down to the size of the LCD:
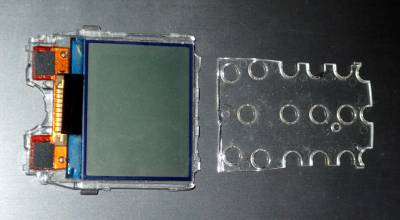
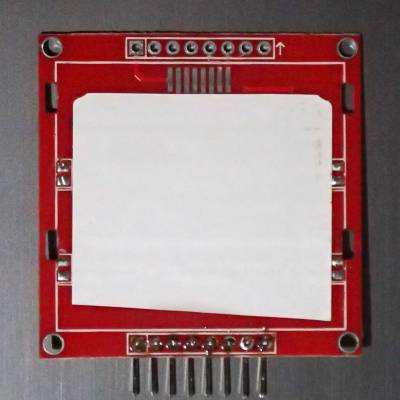
I have some spare Diymore Nokia 3310 adapter PCBs that can be modified to accommodate them:
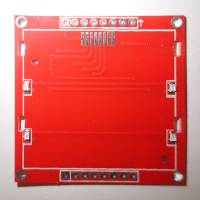
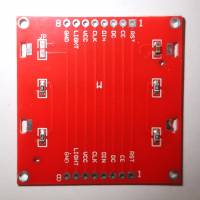
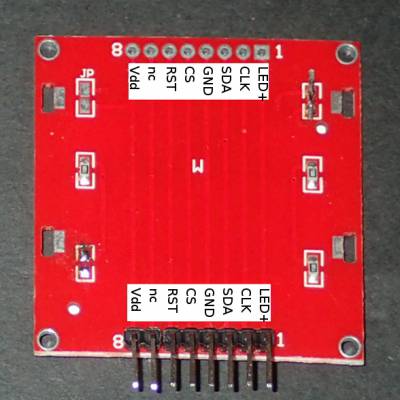
The four LEDs were removed from the top of the Nokia 3310 adapter PCB, and the capacitor on the bottom was replaced with a wire (there is a capacitor mounted on the Nokia 1100 LCD's light guide with the backlight LEDs. So it doesn't need an external capacitor for the LCD voltage booster, and doesn't need the blue LEDs). Then a piece of the reflective white backing from the phone's PCB was applied to the top surface of the PCB to give a reflective surface for the backlights:
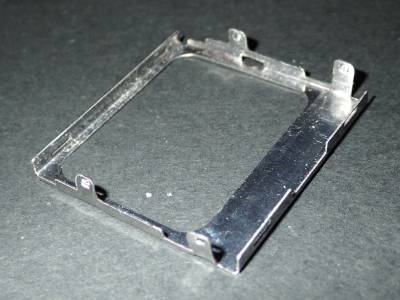
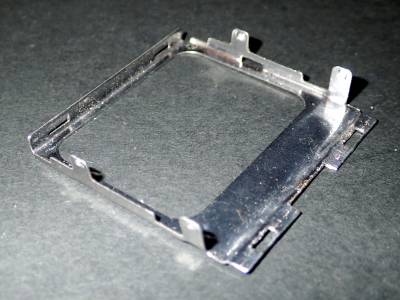
The tidiest way to secure the LCD to the adapter PCB was using a modified frame from the original faulty Nokia 3310 display:
| PCB Connector pin-out | Arduino test rig | |||
|---|---|---|---|---|
| Pin# | Label | Description | Pin | colour |
| 1 | LED+ | Backlight Anode | ||
| 2 | Clk | Serial Clock | 13 | Green |
| 3 | SDA | Serial Data In | 11 | Blue |
| 4 | GND | Power Ground | Brown | |
| 5 | CS | Chip Select | 10 | Yellow |
| 6 | RST | Reset | 8 | Grey |
| 7 | nc | (no connection) | - | - |
| 8 | Vdd | 2.7V to 3.3V | Orange | |
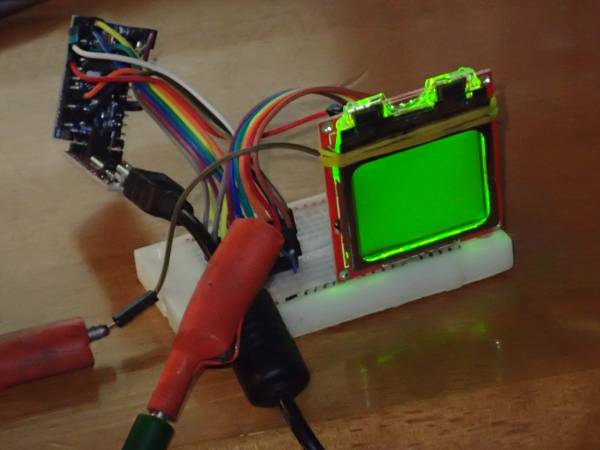
Tested with Arduino Pro Mini, 8MHz, 3.3V:
| Backlight voltage | Backlight current | Comments |
|---|---|---|
| 1.8V | 1mA | LEDs just starts to glow |
| 1.9V | 3mA | dull backlight visible in darkened room |
| 2.0V | 8mA | dim |
| 2.1V | 10mA | |
| 2.2V | 12mA | |
| 2.3V | 19mA | |
| 2.4V | 30mA | visible in lighted room |
| 2.5V | 42mA | good |
| 2.6V | 53mA | |
| 2.7V | 58mA | |
| 2.75V | 65mA | bright |
Page Tools
 Except where otherwise noted, content on this wiki is licensed under the following license: CC Attribution-Share Alike 3.0 Unported